
Looking back to when we were laying pipe for the water and mending the first of the cracks, seems like forever ago! It has been fun to learn new things. To try our hand at fixing different problems, and make The Homestead feel more like home one step at a time.
Our new "motto" through this section of remodeling is "We can fix that."
When we took down a cord covering on the wall (that had not only been screwed, but ALSO glued) and it pulled up the texture, paint, and everything covering the brown paper in the wall, we quickly said, "Well, we can fix that."
When we found a hole in the wall-- "We can fix that."
When we turned the water on in the boarding building and the water fountain started spraying water everywhere-- "We can fix that." (Sometime soon, anyway.)
When we.... you get the point.
In short, it has taught us a lot about a lot of things and it makes us more confident and comfortable with repairing all sorts of things.
And with the cracks mended, we got to retexture random spots on the walls. Being truthful, I found this part stressful. I look back now and wish I hadn't of been so worried. But when the whole wall has one texture and you want the repaired crack spots' texture to match it and it doesn't look like it is, it's kind of nerve-racking. At least it was for me.
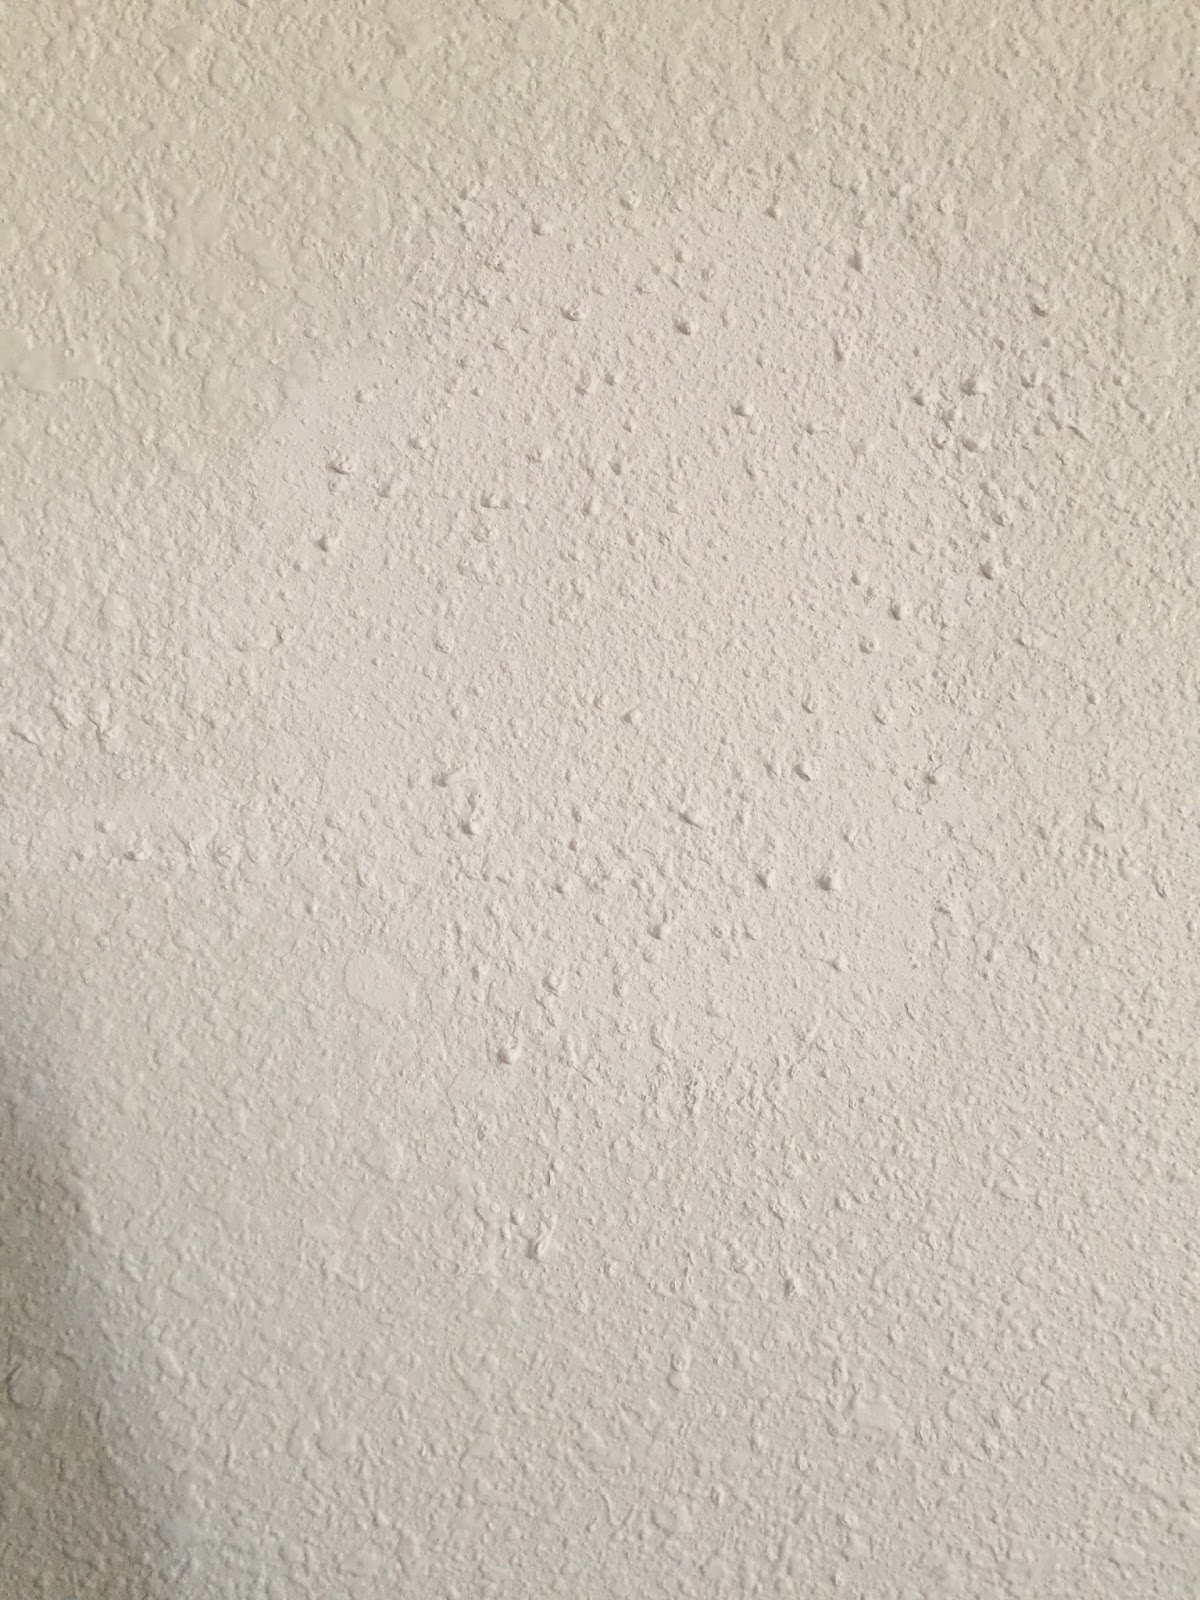 |
| You can see the difference in texture in this picture, but this spot hasn't been painted yet. |
After the cracks were covered with compound, we let them dry. Once dry, we came back over them to sand everything smooth and get it ready for texture.Since we didn't have whole walls to texture, we ended up buying canned texture. I have no idea how it works, but it's pretty neat. We bought the orange peel kind, used it on the heavy setting, and, after some trial and error, got it to match what is already on the walls. (YAY!) With the spray on texture, you do just what it is called. Shake the can, aim, spray it on, and it does its thing. We got the kind that goes on blue and dries white which was fairly helpful.
 |
| Before paint (Boarding building) |
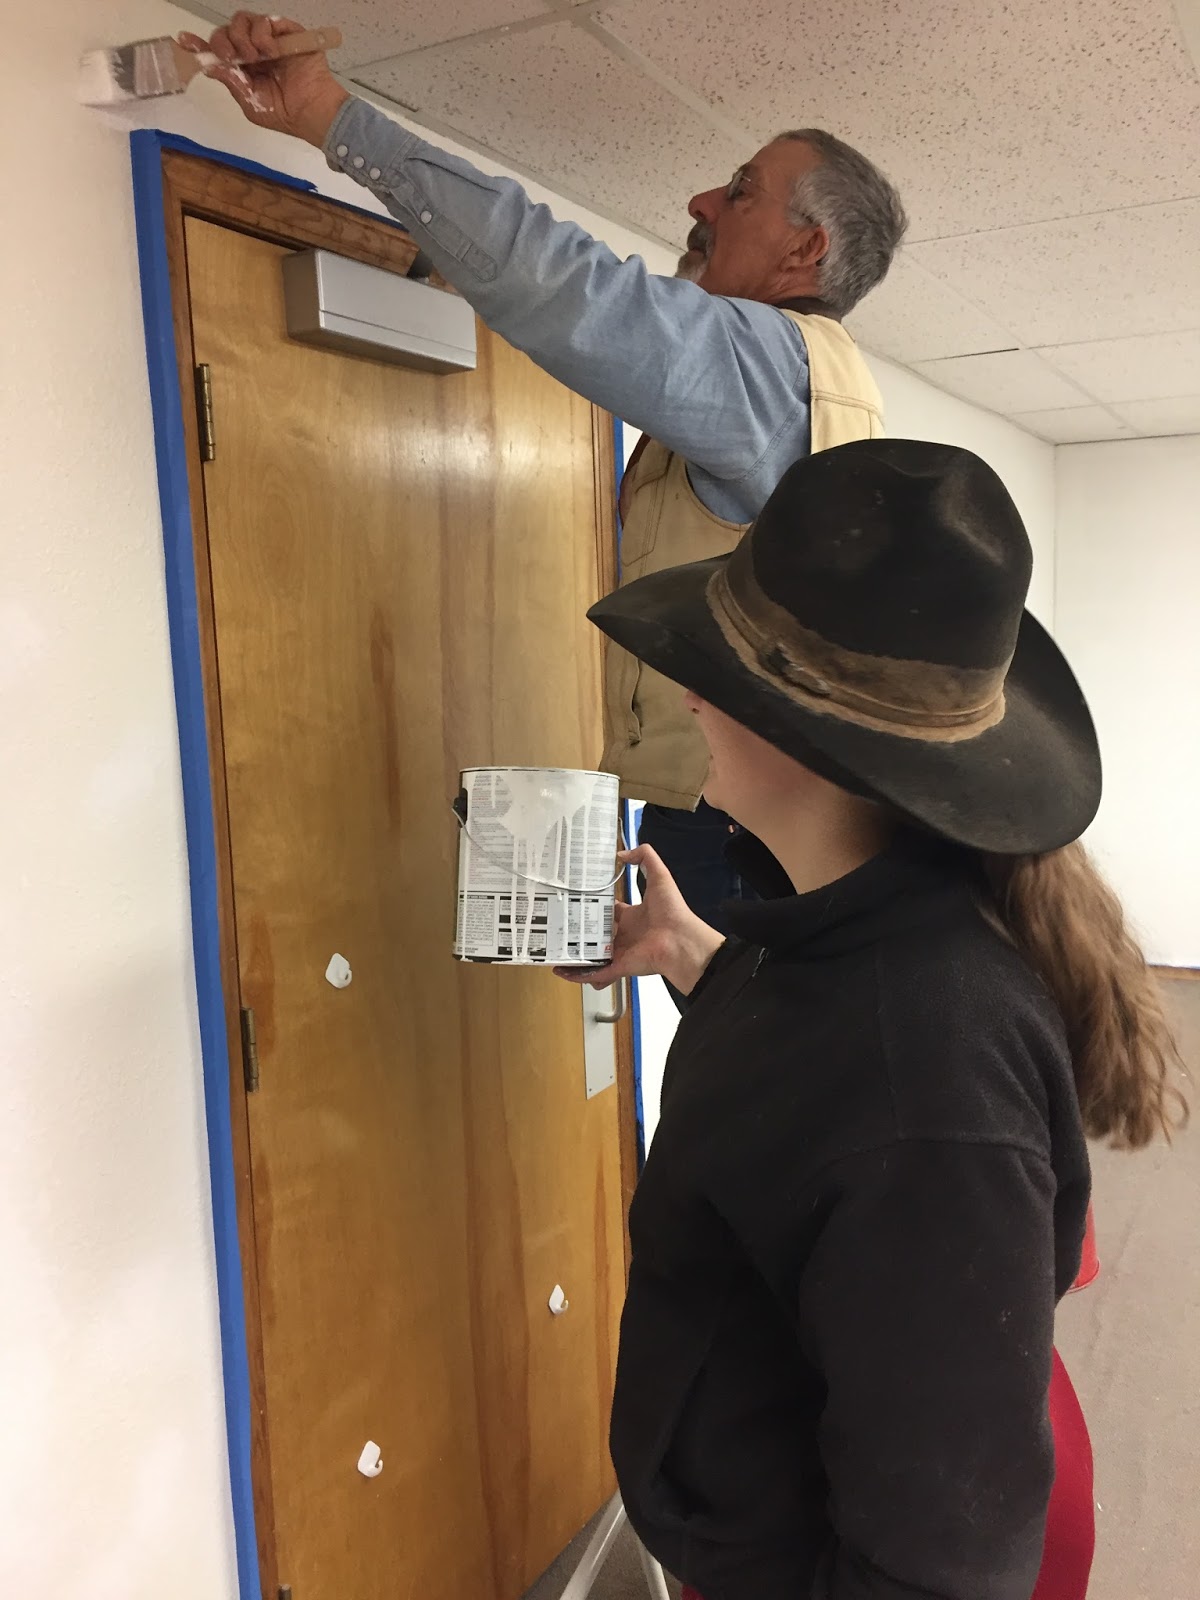
After the texture dried (about 30 mins), we prepped for painting. Prepping is so time consuming! We had to clean the dust off of the baseboards from sanding cracks. Take the outlet covers off and/or tape them and tape the baseboards. Get all of the drop clothes (aka a banner advertising a book fair that was left in the buildings and old cardboard boxes, also left in the buildings) ready. My cousin came up for a couple of days and we painted the boarding room (only lacks one spot before it's finished) and my dining room/living room. Dad, Big J., and I painted three of the four walls in my bedroom on Saturday.  |
| Dad and Little J. hard at it. |
I chose an off white for all of the walls. One wall in my bedroom will be painted a dark blue.Here are pictures of the boarding room after being painted.


Plus, the water is on in the house! We turned it on around April 10th with no problems.


